Mutton Stew is a mouth watering dish from Kerala made by simmering Mutton in Coconut Milk. Mutton tends to be expensive in Kerala and so people usually prepare it only for special occasions like Christmas and Easter. Appam and Mutton Stew are usually served as a course for Christian Wedding Receptions and other Parties. Kerala Mutton Stew in Coconut Milk In our home, we cook Chicken and Beef more than mutton. I have occasionally made Mutton Stew and Mutton Biriyani. This is my first recipe for a Mutton dish on this website. Many readers have been requesting me for a mutton recipe and so finally, I decided to make a video. Here is my first video recipe for Mutton Stew. I am hoping ... continue reading...
Lunch and Dinner
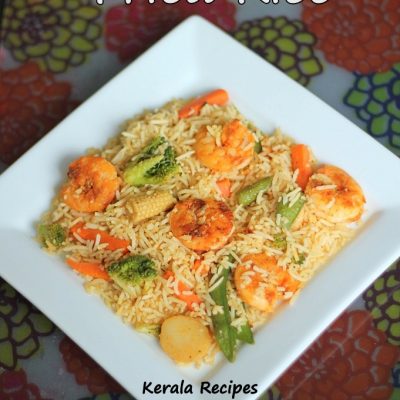
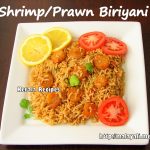
Shrimp Fried Rice
Our love for Fried Rice began when we tasted a yummy Shrimp/Prawn Fried Rice from a Chinese Restaurant near our first home. It was addictive to say the least. Probably, it had been loaded with MSG but what attracted us the most was the juicy and tender Shrimp which tasted out of this world. Needless ... continue reading...
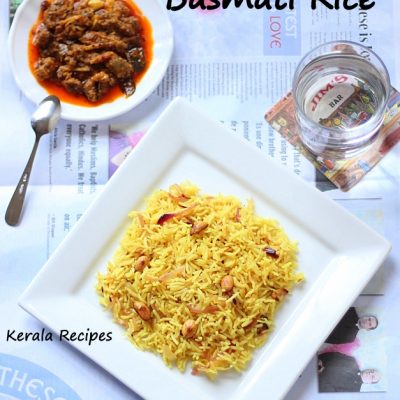
Lemon Flavored Pulav
I was running out of time to make lunch before hubby came home. I looked into my pantry and refrigerator couple of times trying to come up with something. That's when I saw a lemon and immediately had an idea. I decided to make a Lemon Flavored Pulav with Basmati Rice similar to South Indian Lemon ... continue reading...
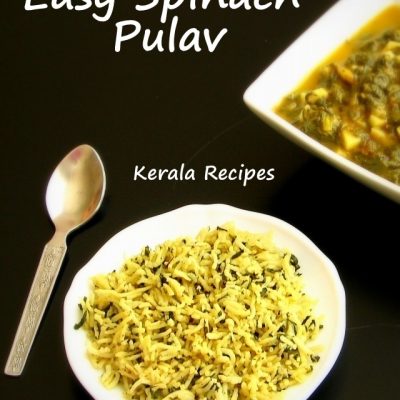
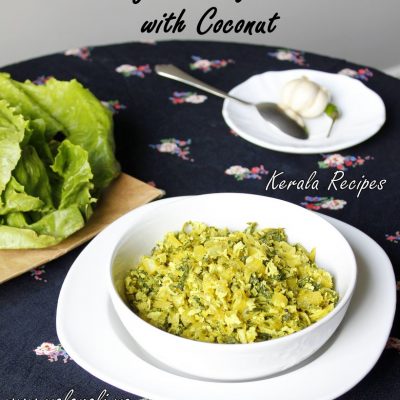
Spinach Pulav
Spinach Pulav is another easy Pulav (Pilaf) you can make for lunch or dinner. I make this tasty and healthy Pulav when I buy Fresh Spinach. I have used Baby Spinach for making this recipe. I made this Pulav during Lent and we liked it a lot. I added a pinch of turmeric powder and that gave ... continue reading...