“Vattayappam” literally means “Round Cake/Bread”. It is a soft and fluffy ‘steamed rice cake’ often made for Tea. It is the only cake I think my maternal Ammachi (Grandma) used to make. Of course, there weren’t any ovens in my Grandma’s home. So, I guess steaming was the only way to come out with a cake. Now a days, Vatteyappam can be found in almost all bakeries. However, I like the homemade version better as it doesn’t have the overpowering taste of Yeast.
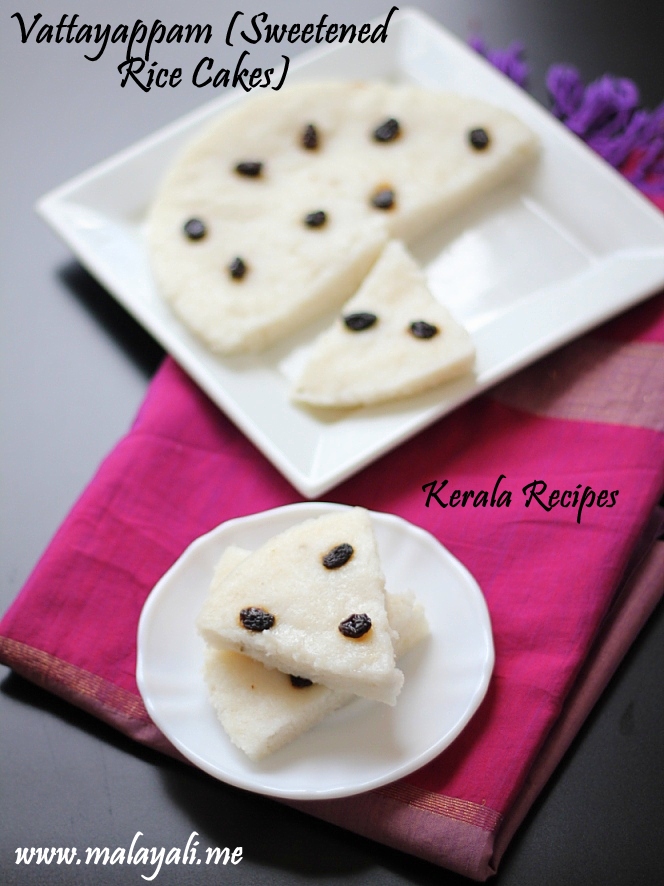
Vattayappam (Sweetened Rice Cakes)
The main ingredients for Vattayappam are same as that of other Appams – Rice and Coconut. In fact, I often use leftover Palappam batter for making Vatteyappams. You just need to add a few more ingredients to the batter and it is ready for steaming. My mother uses Jaggery (Sharkara) while making Vattayappam but I use sugar. The taste and texture differs if you use Jaggery instead of Sugar. I love the version with sugar since I feel it’s fluffier than the other one. There is also a more simpler way to make Vatteyappam using Rice Flour. However, this one tastes better.
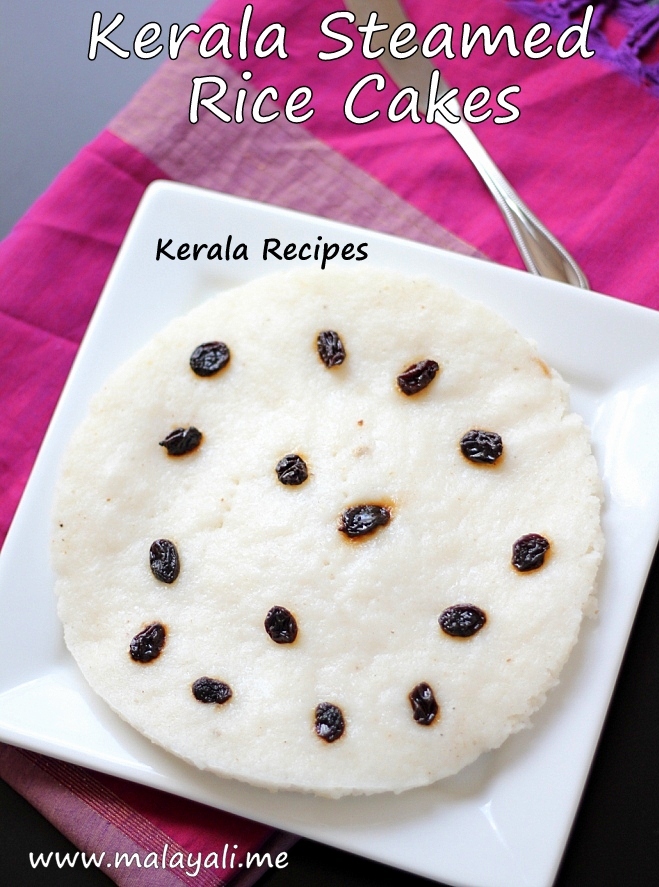
Kerala Steamed Rice Cakes
Ingredients
For Appam Batter
- Raw Rice (Pachari) – 2 cups (Use any short or long grain rice)
- Cooked Rice – 3/4 cup approx
- Yeast – 1.5 to 2 tsp
- Sugar – 1 tbsp + 3-4 tbsp or as needed
- Ice cubes – as needed
- Water – as needed
Remaining Ingredients for Vatteyappam
- Appam Batter – 2 to 2.5 cups
- Grated Coconut – 1/2 cup
- Sugar – 2-3 tbsp
- Crushed/Powdered Cardamom (Elakka) – 4 pods
- Raisins – 10 to 15
- Salt – to taste
- Oil – for greasing
- Water – a few teaspoons
Preparation Method
- Soak the rice for atleast 6 hours or leave it overnight. Wash and drain the rice and keep aside.
- Dissolve the yeast and 1 tbsp sugar in 1/2 cup of slightly warm water. Keep it aside for ten minutes until it foams.
- Next, you need to grind the rice in several batches. Grind around two handfuls of raw rice along with a few tablespoons of cooked rice and very little water. I add 2-3 ice cubes while grinding each batch to prevent the mixie from overheating. Grind until you get a smooth batter.
- Transfer the batter to large bowl. Continue doing this with the remaining rice.
- While grinding the last batch, add the yeast solution to the mixie so that it gets incorporated well with the batter.
- Leave the batter in a warm place for around 6 hours. I usually leave it overnight. Ensure that the bowl is large enough to prevent the batter from overflowing after fermentation.
- The batter would have risen after fermentation and will look foamy. Stir the batter and keep aside. This batter can be used for making both Palappam and Vatteyappam.
- Transfer 2 to 2.5 cups of this batter to another bowl for making Vatteyappam. You can use the remaining batter for Palappams or refrigerate it for later use.
- Grind the grated coconut along with a few teaspoons of water to form a smooth mixture. Add it to the batter.
- Add sugar as per desired sweetness (2-3 tbsp), powdered cardamom and salt to taste. Mix everything together. The batter should be somewhat thick and not watery. Keep this batter aside for 20-30 minutes so that it becomes foamy (optional).
- Grease a round steamer plate and pour the batter into it. Steam it for 10 minutes. Open the lid and place the raisins on top. (Be careful not to burn your hands!)
- Keep it covered and allow it to cook for 5 more minutes or until done. Insert a toothpick/fork to check if it comes out clean.
- Once the vatayappam is cooked, allow it to cool thoroughly and then transfer it to a plate. Cut it into desired shapes and serve.
Note
- You may need to adjust the amount of cooked rice used for preparing the batter. If you use too much of boiled rice, the appams will become sticky. If the rice used is less, appams won’t be soft. Try using 1/2 to 3/4 cup of cooked rice but not more than that.
- While grinding the rice, try adding very little water. The unfermented batter should be thick as it will rise and thin out after fermentation.
- If the batter appears watery after adding the coconut mixture, you can add a few tablespoons of rice flour to get the desired consistency.
- You can also make these in Idli moulds if you don’t have a steamer.







I LIKED THE RECIPE VERY MUCH.